

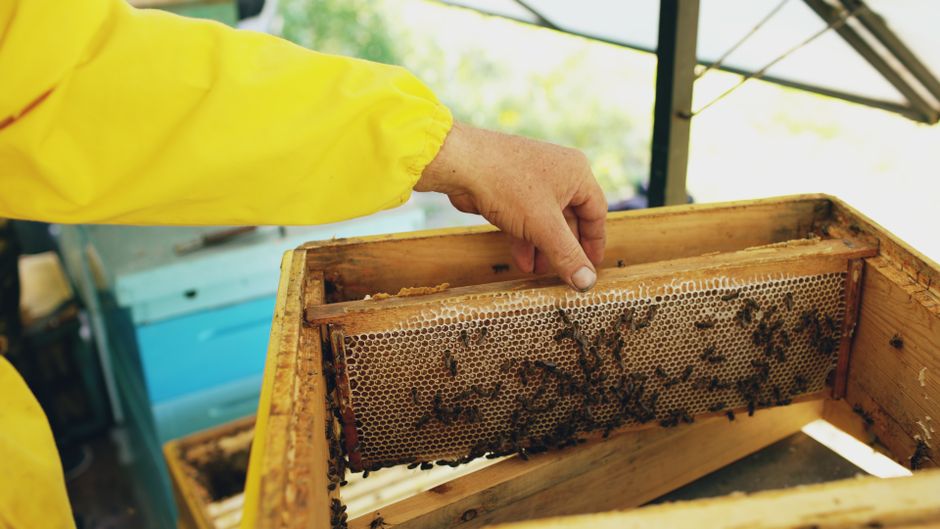
Splitting a beehive is one of the most valuable skills a beekeeper can learn. Whether you want to expand your apiary, prevent swarming, replace an aging queen, or increase honeybee populations, knowing how to divide an established colony successfully can save money and improve your beekeeping operation.
A beehive split involves taking a portion of an existing honeybee colony and establishing a second colony with its own queen or the resources needed to raise one. When performed correctly, both colonies can develop into healthy, productive hives.
However, splitting a beehive requires careful planning, proper timing, and an understanding of honeybee behavior. Splitting too early, removing too many bees, or failing to provide a queen can result in weak colonies. This step-by-step guide explains everything you need to know about splitting a beehive, from preparing your equipment to monitoring your new colony.
1. Understand the Benefits of Splitting a Beehive
Before attempting your first split, it is important to understand why beekeepers divide their colonies.
- Preventing swarms: Strong honeybee colonies naturally reproduce through swarming. Splitting a crowded hive can reduce swarm pressure by giving the bees additional space and dividing the population.
- Expanding your apiary: Instead of purchasing additional packages of bees, you can create new colonies from existing healthy hives.
- Increasing queen production: Splitting a beehive allows beekeepers to introduce purchased queens or encourage bees to raise their own queens.
- Replacing aging queens: Colony splits provide opportunities to introduce younger queens with desirable genetics.
- Reducing colony overcrowding: Dividing a strong colony can improve population management during periods of rapid spring growth.
Although splitting a beehive offers several advantages, remember that dividing a colony temporarily reduces its workforce and may decrease honey production during the current season.
2. Determine the Best Time for Splitting a Beehive
Timing is critical when splitting a beehive. For most beekeepers in temperate climates, spring is the preferred season because honeybee colonies are expanding rapidly and natural food sources are becoming available. In areas such as West Virginia and the Appalachian region, April through May is often a suitable window, depending on elevation, weather conditions, and colony strength.
Before splitting, look for these conditions:
- Daytime temperatures consistently suitable for opening colonies, preferably around 60°F or warmer.
- A strong colony containing plenty of adult worker bees.
- Multiple frames of healthy brood in different developmental stages.
- Adequate stored honey and pollen.
- Available drones if the new colony must raise and mate its own queen.
Avoid splitting weak colonies, colonies showing signs of disease, or hives struggling with significant Varroa mite infestations. Splitting a beehive during a nectar flow can help both colonies recover, but supplemental feeding may still be necessary if resources become limited. Our guide to seasonal beekeeping maps out the year month by month.
3. Gather the Equipment Needed for Splitting a Beehive
Having the proper equipment ready before opening your hive makes the process easier and reduces unnecessary disturbance. You will need:
- An established, healthy honeybee colony.
- A second hive box or nucleus colony box.
- Frames with drawn comb or foundation.
- A hive tool and bee smoker.
- Protective beekeeping clothing and gloves.
- A feeder and sugar syrup, if needed.
- A purchased queen or suitable eggs and young larvae for queen production.
- An entrance reducer to help protect the smaller colony.
A five-frame nucleus box, commonly called a nuc, is particularly useful for splitting a beehive because it provides a smaller space for a developing colony to maintain and defend. Place the new hive on a stable stand in a location protected from excessive wind and moisture.
4. Inspect the Original Hive Before Splitting
The next step in splitting a beehive is carefully inspecting the original colony. Choose a warm, sunny day when many forager bees are outside collecting nectar and pollen. Light your smoker, gently open the hive, and examine the brood frames.
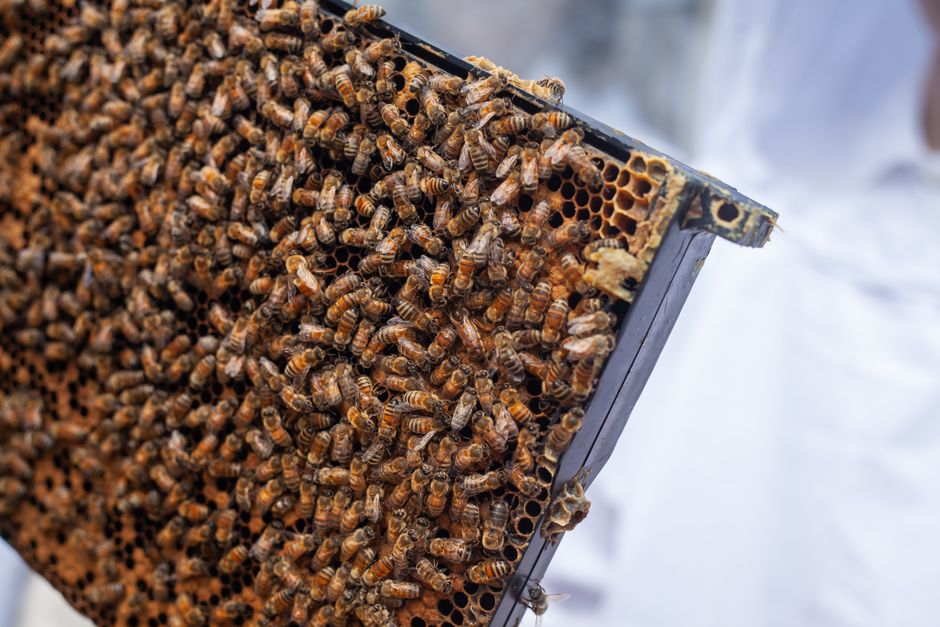
Look for freshly laid eggs, developing larvae, capped brood, stored food, and the queen. A particularly strong colony might contain eight or more frames of brood, although the amount needed depends on the splitting method and local conditions. Check for swarm cells, unusual brood patterns, disease symptoms, and adequate food reserves. Only proceed if the original colony can support the removal of several frames without becoming dangerously weak.

5. Locate the Queen Bee
Finding the queen is one of the most important parts of splitting a beehive. The queen usually has a longer abdomen than worker bees and may be surrounded by attendants. If your queen is marked with a colored dot, locating her will be considerably easier.
For this beginner-friendly method, leave the original queen in the parent colony and establish a queenless nucleus colony. Temporarily set aside the frame containing the queen, keeping it protected and within the hive area. Never accidentally transfer the original queen into a split intended to receive a purchased queen or raise its own. Once the new colony has been assembled, return the original queen and her frame to the parent hive. Our queens and colonies guide covers queen biology in more depth.
6. Transfer Brood and Food Frames Into the New Hive
Now comes the actual process of splitting a beehive. For a typical five-frame nucleus colony, consider this arrangement:
- Frame 1Honey
- Frame 2Capped brood
- Frame 3Eggs & larvae
- Frame 4Drawn comb
- Frame 5Pollen & honey
Illustrative frame arrangement. Keep brood frames together and food nearby.
Transfer one frame containing eggs and very young larvae, one frame of capped brood, and two frames containing honey and pollen. Fill the remaining position with drawn comb, if available.
Keep nurse bees on the brood frames and add sufficient additional young bees to care for the developing brood. Account for older foragers returning to the parent hive. Replace the removed frames in the original colony with appropriate empty frames. The new colony must contain enough bees to cover its brood and maintain a suitable temperature.
7. Provide a Queen for the New Colony
Every successful honeybee colony eventually needs a healthy, laying queen. When splitting a beehive, you have two primary options.
Option One: Introduce a Purchased Queen
Purchase a healthy, mated queen from a reputable breeder. Introduce her into the queenless colony using an appropriate queen cage and follow the breeder's release instructions. A purchased queen can begin laying sooner than a naturally raised queen, assuming the workers accept her.
Option Two: Allow the Bees to Raise Their Own Queen
This technique is commonly called a walk-away split. If the new colony contains fertilized eggs or very young female larvae, worker bees can develop emergency queen cells. The new queen must emerge, mature, successfully mate with drones, and begin laying eggs. This process commonly takes approximately three to four weeks, sometimes longer because of unfavorable weather. Successful queen development and mating are central to establishing a productive split.
8. Position the New Beehive
Once the frames have been transferred, place the new hive in its permanent location. If possible, moving the new colony to an apiary several miles away helps prevent older forager bees from returning to their original hive. However, splitting a beehive within the same apiary is possible.
When keeping both colonies nearby, provide additional nurse bees to compensate for returning foragers and monitor the population carefully. Install an entrance reducer to help the smaller colony defend itself against robbing bees. Avoid leaving exposed honey or sugar syrup around the apiary because this can encourage robbing.
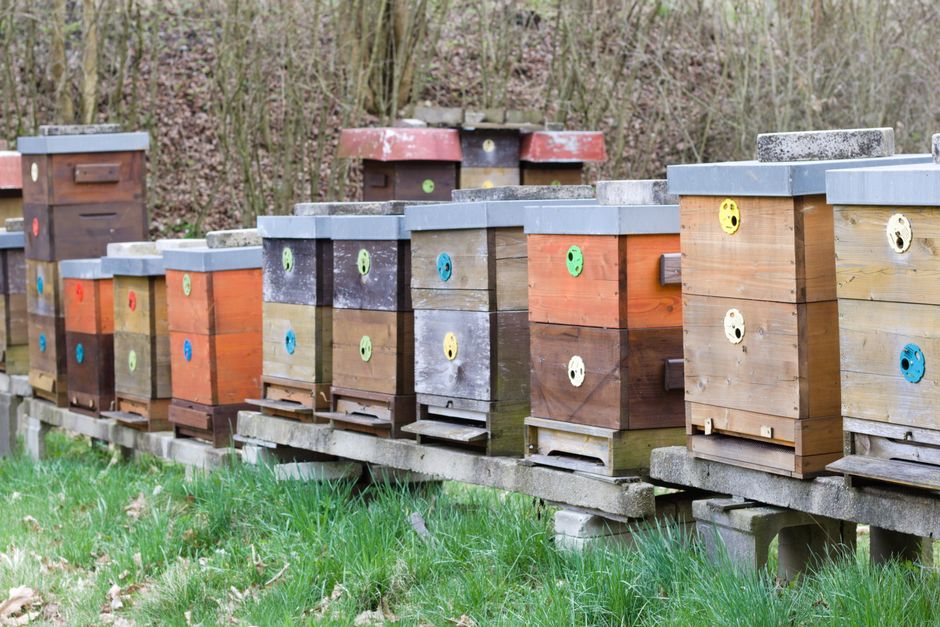
9. Feed and Monitor Both Colonies
After splitting a beehive, both colonies need time to recover. If natural nectar is limited, consider feeding 1:1 sugar syrup using an internal feeder. Avoid unnecessary inspections, especially while a new queen is developing and mating.
For a colony receiving a purchased queen, follow the introduction schedule and inspect for successful release and fresh eggs. For a walk-away split, wait approximately three to four weeks before checking for eggs from the new queen. If no eggs appear, investigate queen status before taking corrective action. Continue monitoring food stores, brood development, colony population, and Varroa mite levels — our bee health guide explains monitoring the basics.
10. Avoid Common Mistakes When Splitting a Beehive
Even experienced beekeepers sometimes encounter problems when creating new colonies. Common mistakes include splitting weak colonies, attempting splits during cold weather, transferring insufficient nurse bees, failing to provide young larvae for queen production, and overlooking food shortages.
Another mistake is repeatedly disturbing a colony while its new queen is developing. Be patient. A queenless split raising its own queen may appear inactive before the new queen begins laying. Remember that splitting a beehive does not guarantee swarm prevention. Continue monitoring the original colony for crowding and swarm preparations — see our hive management guide.
Frequently Asked Questions About Splitting a Beehive
Can you split a beehive without finding the queen?
Yes. Some methods use a queen excluder to separate the queen from brood frames before creating a split. However, identifying which colony contains the queen remains essential.
How many times can you split one beehive?
A particularly strong colony may support multiple splits during a favorable season. However, repeatedly removing brood and workers can weaken the parent colony and reduce honey production.
Will splitting a beehive reduce honey production?
It can. Splitting reduces the workforce available to collect nectar. Early spring splits generally allow more recovery time before major honey flows.
Can you split a beehive in the fall?
Fall splits are possible in some climates, but they carry greater risks because colonies have less time to build populations and food reserves before winter.
How long does it take for a split beehive to become established?
A split with a purchased, successfully accepted mated queen may begin expanding quickly. A walk-away split generally requires several weeks before the new queen begins laying, followed by additional time for her workers to emerge.
Conclusion: Successfully Splitting a Beehive
Splitting a beehive is an excellent way to expand your apiary, manage strong colonies, and become a more knowledgeable beekeeper. The keys to success are selecting a healthy colony, choosing the right season, distributing brood and food properly, and ensuring both colonies have a viable queen.
For beginners, starting with one carefully planned spring split is often the best approach. With patience, regular monitoring, and proper management, splitting a beehive can turn one thriving honeybee colony into two healthy colonies that continue growing for years to come.